MFP Network Printer Setup: A Step-by-Step Guide
AI Overview: Why Your Business Needs an MFP Network Printer
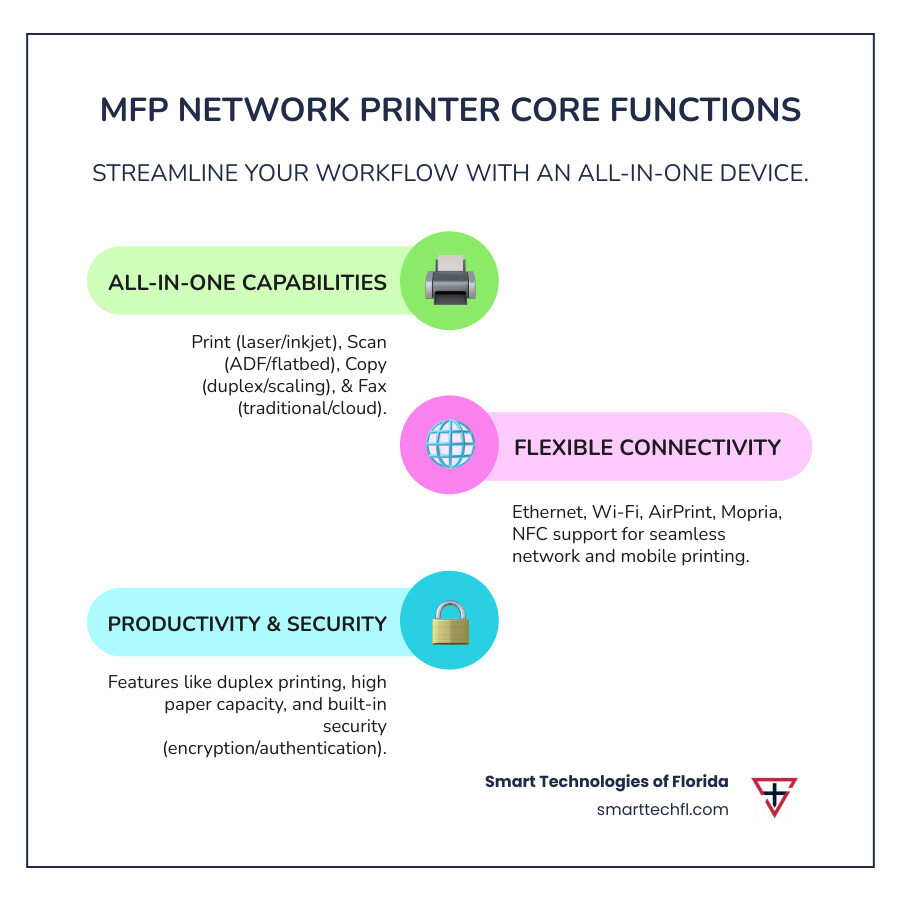
An MFP (Multifunction Printer) network printer combines printing, scanning, copying, and faxing into a single device that multiple users can access across your office network. These all-in-one solutions help businesses cut costs, streamline document workflows, and improve productivity through centralized access and mobile/cloud integration.
Why Your Business Needs an MFP Network Printer
An MFP network printer combines printing, scanning, copying, and faxing into one connected device that multiple users can access across your network. These all-in-one machines streamline workflows, save space, and reduce costs compared to using separate devices.
Quick Setup Overview:
- Physical Setup – Unbox, install cartridges, load paper, connect power
- Network Connection – Choose Ethernet (wired) or Wi-Fi (wireless)
- Driver Installation – Download and install software on computers
- Configuration – Add printer to devices and test functionality
- Mobile Setup – Enable printing from smartphones and tablets
MFPs offer significant advantages for businesses, with models designed for various workloads. For example, some devices can handle up to 50,000 pages per month, while others provide super-low running costs with enough ink for thousands of pages right out of the box.
Modern MFP network printers support multiple connectivity options, including Ethernet, Wi-Fi, mobile printing via AirPrint and Mopria, and even NFC for tap-to-print functionality. This allows your team to print from laptops, smartphones, and tablets anywhere in the office.
The key benefits include:
- Space efficiency: One device replaces multiple machines.
- Cost savings: Lower per-page costs and reduced maintenance.
- Improved productivity: Features like automatic document feeders and duplex printing.
- Security features: Built-in protection for sensitive documents.
- Mobile integration: Print and scan from any device.
Step 1: Pre-Setup Checklist & Considerations
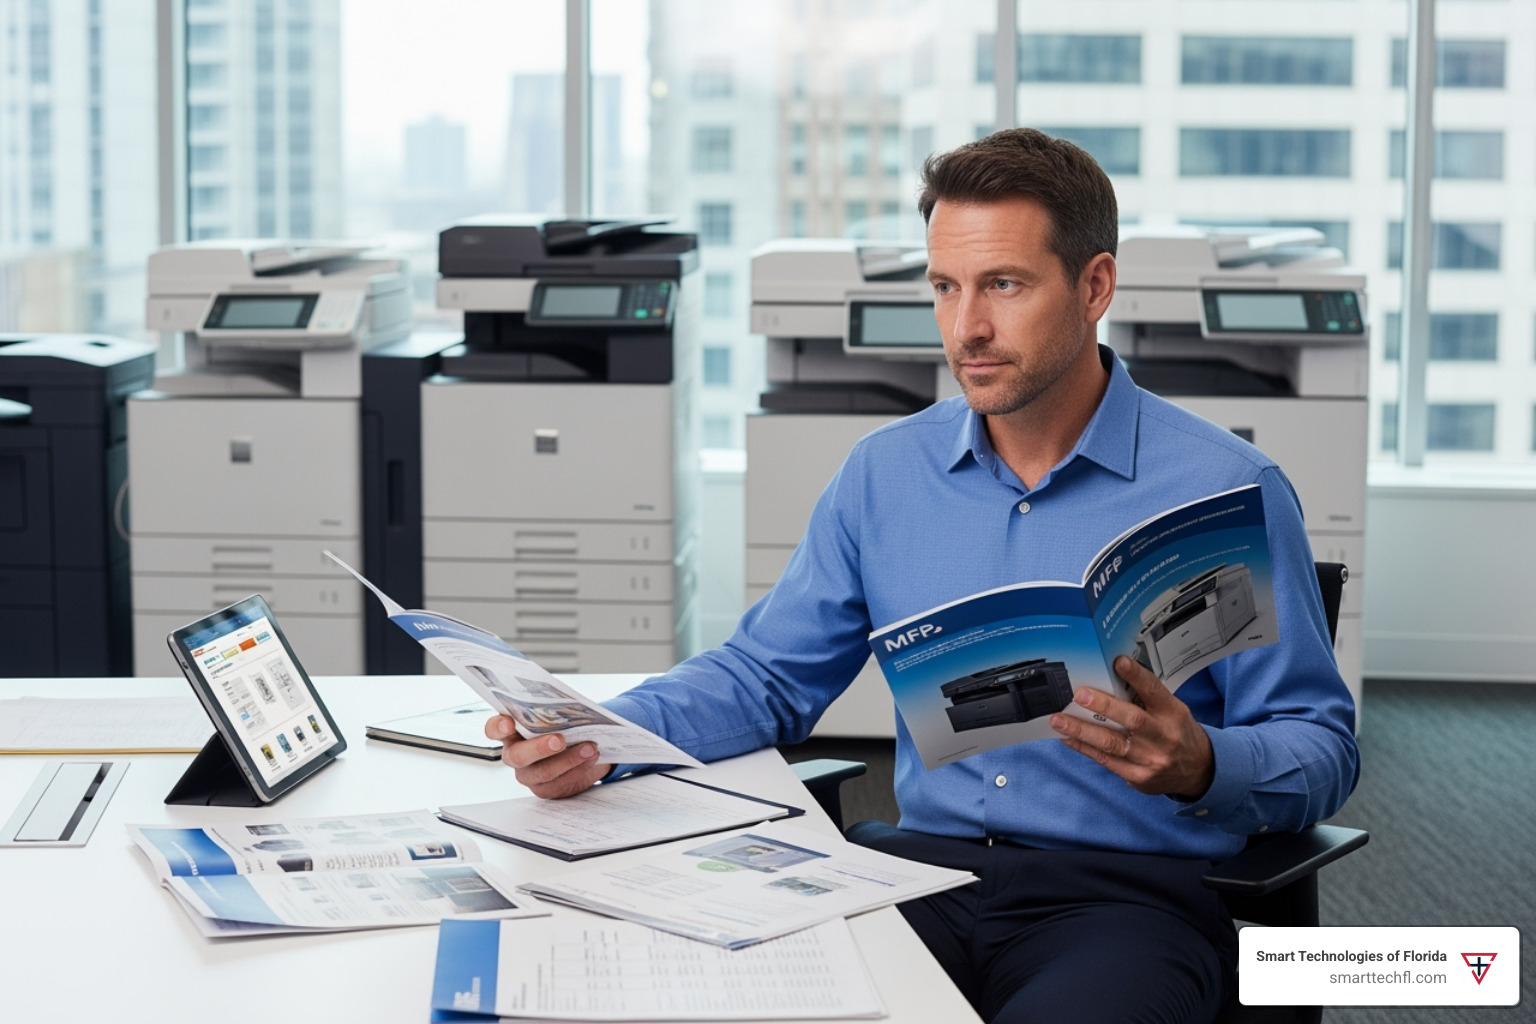
Before choosing an MFP network printer, it’s crucial to assess your specific needs to ensure the device can handle your workload, fit your budget, and grow with your business.
Understanding Your Print Volume and Usage
Your monthly page count is a key factor. A small business might print 1,000-4,000 pages monthly, while busy workgroups can exceed 10,000. Every printer has a monthly duty cycle—the maximum pages it can handle. For example, a model might have a recommended volume of 4,000 pages but a maximum duty cycle of 50,000. Match your expected usage to the printer’s recommended capacity to ensure reliability.
Laser vs. Inkjet: The Great Debate
- Laser MFPs use toner and excel at fast text printing with a lower cost per page for high volumes. They are ideal for offices that print frequently and prioritize speed.
- Inkjet MFPs are superior for color-rich documents and photos. Modern tank-style inkjets have revolutionized costs by including enough ink for thousands of pages, making them a competitive option for businesses that need high-quality color output.
Features That Actually Matter
Look for features that boost productivity:
- Automatic Document Feeder (ADF): Scans or copies multi-page documents automatically. A single-pass duplex ADF scans both sides at once, saving significant time.
- Duplex Printing: Automatic two-sided printing saves paper and creates professional-looking documents.
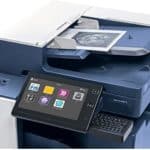
- Touchscreen Interface: An intuitive touchscreen simplifies navigation and access to features.
- Paper Capacity: Larger paper trays (e.g., 250-350 sheets) reduce the frequency of refills and minimize interruptions.
Security and Sustainability
An MFP network printer is a network device and requires security. Look for features like private printing (requiring a PIN to release a job) and data encryption. Enterprise-grade security suites offer advanced protection like intrusion detection. Additionally, ENERGY STAR certification helps manage electricity costs, and many manufacturers now use recycled materials and energy-efficient designs.
For help optimizing your document management, explore our Printers and Copiers solutions.
Step 2: Unboxing and Physical Assembly
Proper unboxing and assembly are critical for a smooth setup. Taking your time here prevents future issues like paper jams or operational errors.
Prepare and Unbox
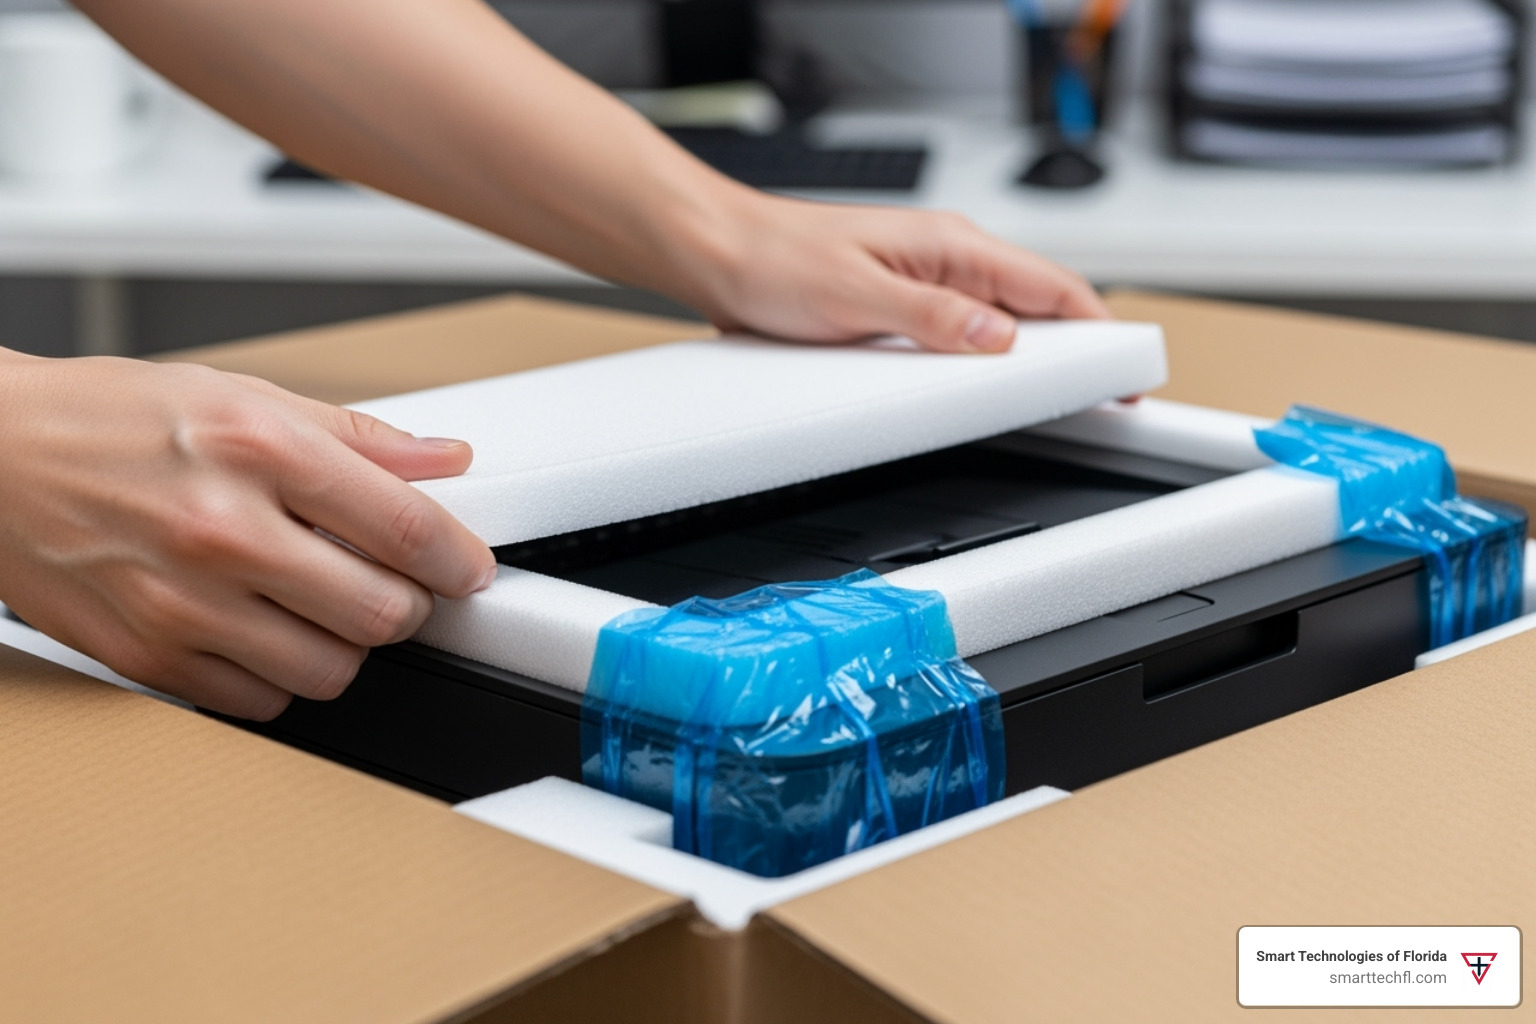
First, clear a large workspace. Business-grade MFP network printers can be heavy (50+ pounds), so ask a colleague for help with lifting. Once the printer is out of the box, your next task is to remove all protective materials. Manufacturers use a lot of protective tape, foam, and plastic guards to secure components during shipping. Carefully check:
- Inside paper trays
- On the scanner glass (under the lid)
- Around the toner or ink cartridge access area
Missing even one piece can cause operational failures, so be thorough.
Install Cartridges and Load Paper
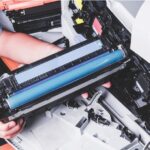
Next, install the toner or ink cartridges. For laser models, gently shake the toner cartridge to distribute the powder before inserting it. For inkjet models, either click the cartridges into place or, for tank systems, carefully pour the bottled ink into the corresponding reservoirs. The printer’s screen will typically guide you through this process.
When loading the paper tray, adjust the paper guides to be snug against the stack of paper. This simple step is key to preventing paper jams.
Power On and Initial Configuration
Connect the power cord and turn the printer on. The device will run a self-diagnostic and initialization sequence, which may take a few minutes. Once it’s ready, the touchscreen interface will guide you through the initial setup, including selecting your language, setting the date and time, and beginning the network configuration. Use this opportunity to familiarize yourself with the menu system.
Step 3: MFP Network Printer Connectivity Options
Connecting your MFP network printer to your office network open ups its full potential for shared access, remote printing, and improved productivity. You can choose between a stable wired connection or a flexible wireless one. For guidance on securing your network, see our Network Security Solutions Complete Guide.
Connecting via Ethernet (Wired Connection)
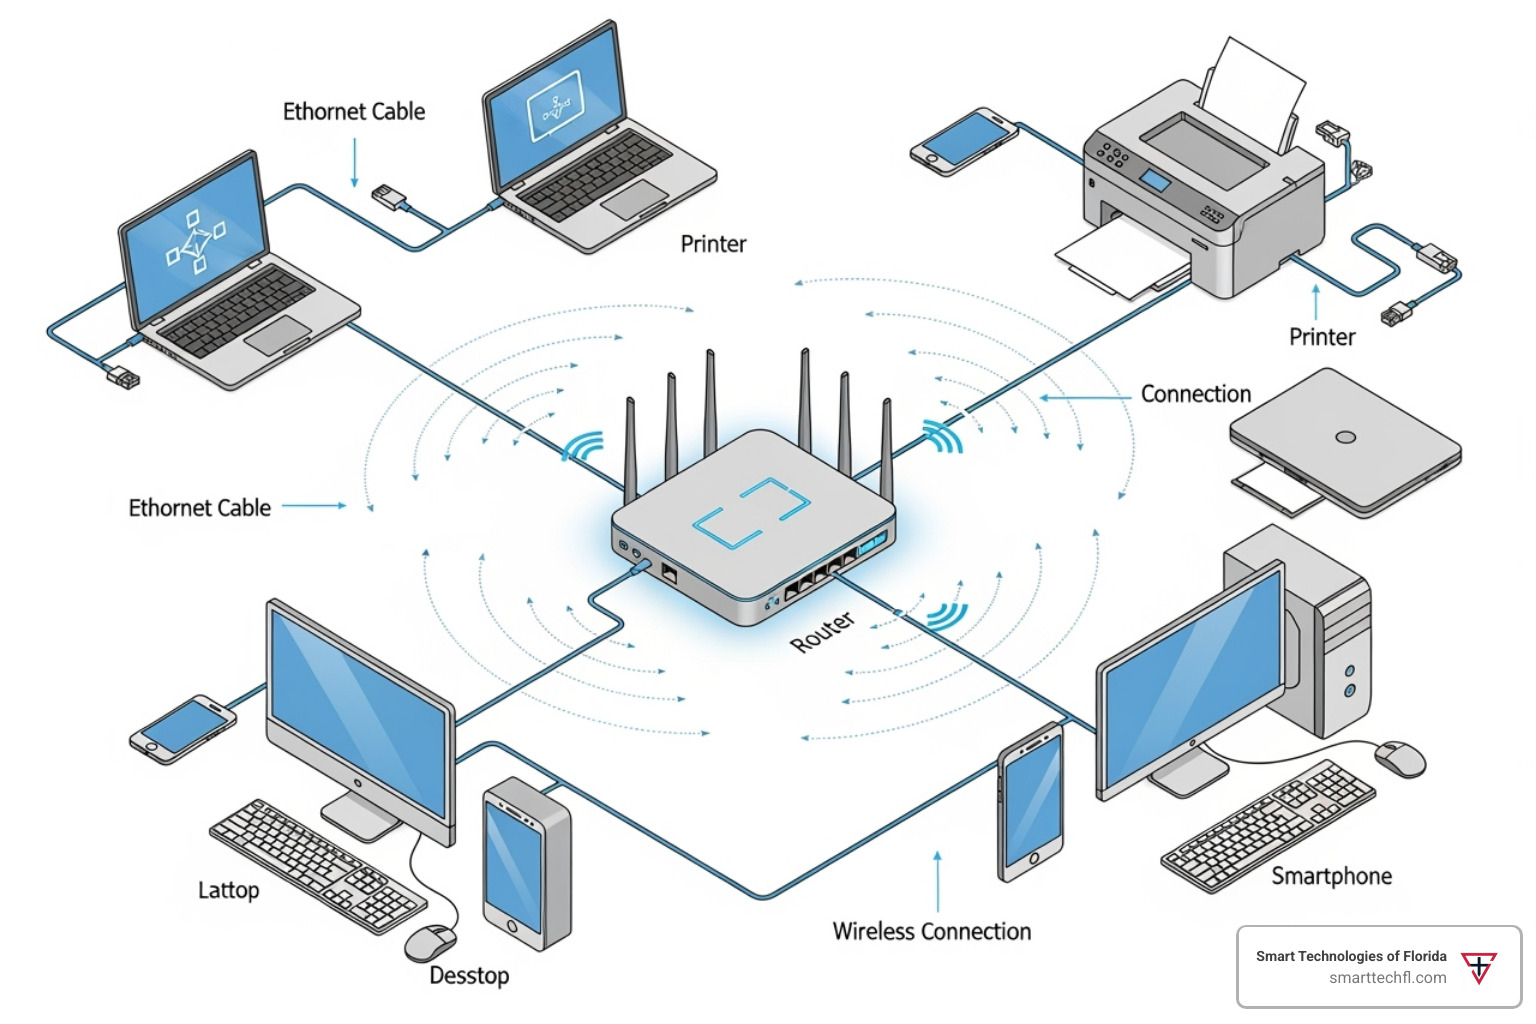
An Ethernet connection offers the best stability and speed, making it ideal for busy offices.
- Plug one end of an Ethernet cable into the LAN port on your MFP.
- Plug the other end into an available port on your network router or switch.
- The printer will typically receive an IP address automatically via DHCP. You can verify the connection and find the IP address in the printer’s network settings menu on its control panel.
A wired connection is less prone to interference and is the recommended choice for stationary printers where reliability is paramount.
Setting Up Your Wireless MFP Network Printer
A Wi-Fi connection offers the flexibility to place the printer anywhere within your network’s range. Most MFPs have a setup wizard on the touchscreen to guide you:
- Steer to the printer’s network or Wi-Fi settings.
- Select the Wi-Fi setup wizard.
- Choose your office Wi-Fi network from the list.
- Enter your network password (WPA/WPA2 passphrase).
Alternatively, if your router supports WPS (Wi-Fi Protected Setup), you can press the WPS button on both the printer and the router to connect them automatically. For the best performance, place the printer where it has a strong Wi-Fi signal, away from obstructions like thick walls or large metal objects.
Configuring Mobile and Cloud Printing
Once networked, your MFP becomes a hub for mobile and cloud-based workflows. For more on improving office communication, read our guide to Business Communication Solutions That Work.
- Mobile Printing: Apple AirPrint (for iOS/macOS) and Mopria Print Service (for Android) allow for easy, driverless printing from mobile devices on the same network. Many brands also offer dedicated apps (e.g., HP Smart, Brother iPrint&Scan) that add features like mobile scanning and cloud management.
- Cloud Integration: Many modern MFPs can scan documents directly to cloud services like Google Drive, Dropbox, or OneDrive, or send them as email attachments. This streamlines digital workflows by connecting your physical documents to your cloud storage.
- NFC: Some advanced models feature NFC (Near Field Communication), allowing users to initiate a print job simply by tapping their compatible mobile device on the printer.
Step 4: Installing Drivers and Software
With your printer connected to the network, the final step is installing the necessary software on your computers. This allows your operating system to communicate with the mfp network printer and access all its features.
Why Correct Drivers Matter
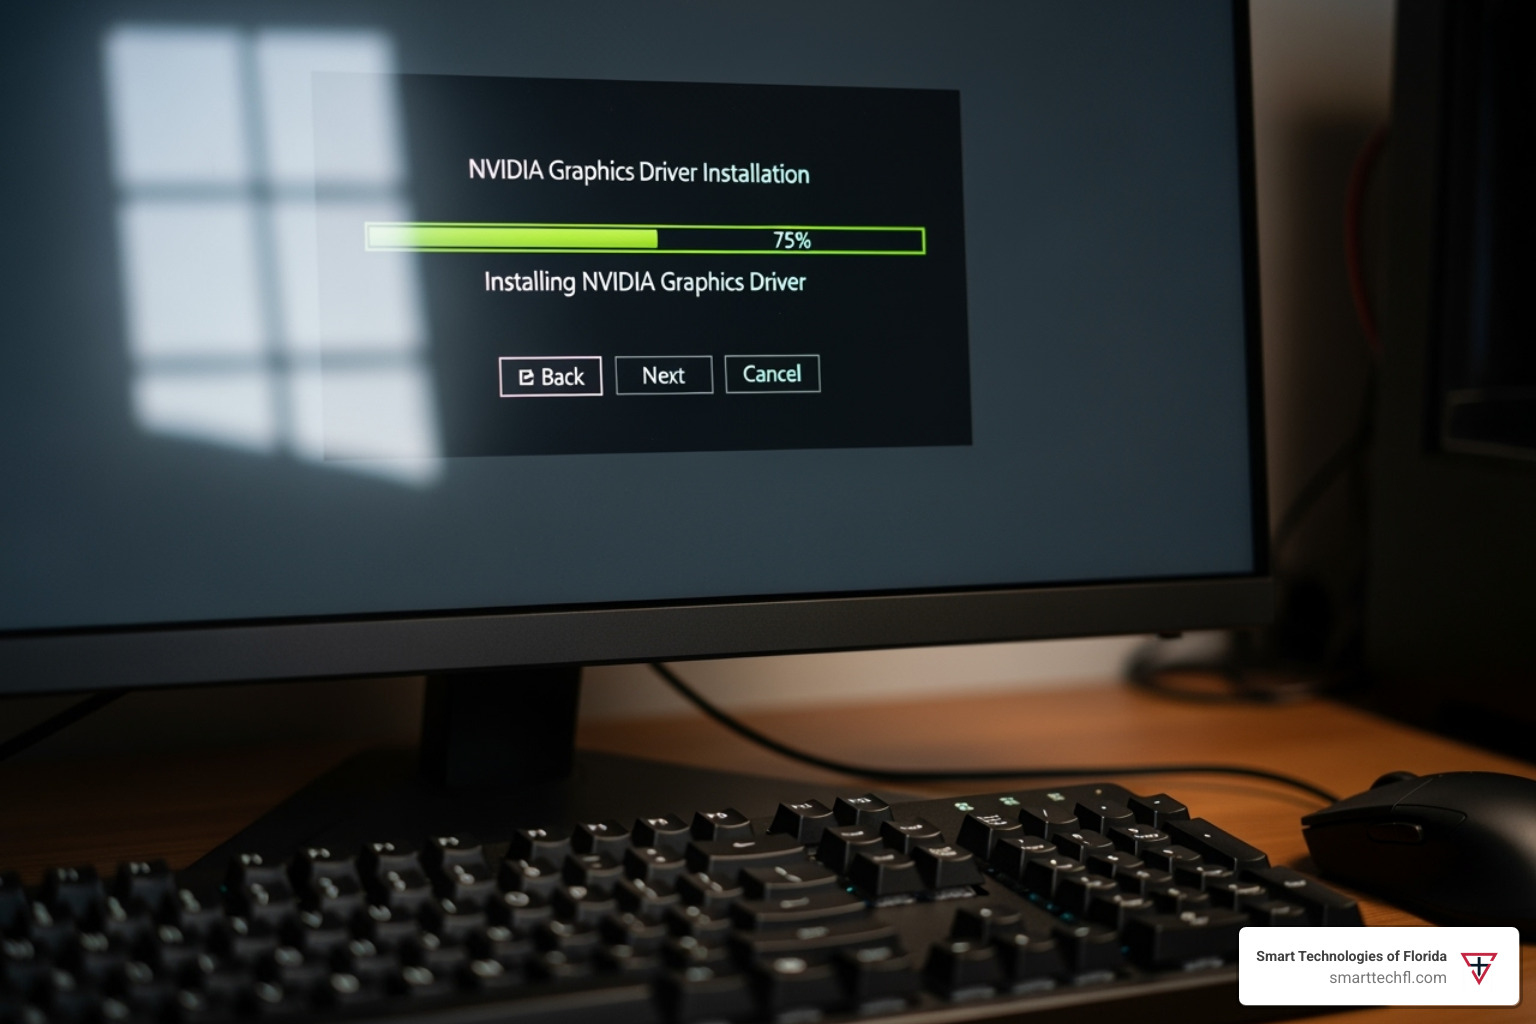
A printer driver is a translator between your computer and your printer. Without the correct driver, your computer may not recognize the printer or may only provide basic printing functions. Installing the manufacturer’s full software suite open ups advanced features like high-resolution scanning, device monitoring utilities, and OCR (Optical Character Recognition) software.
How to Find and Install the Right Driver
Always download the latest drivers from the manufacturer’s official support website. Search for your printer model number and select your operating system (e.g., Windows 11, macOS Sonoma). For example, Canon users can visit their support page. It’s best to download the full software package, not just the basic driver, to ensure full functionality.
How to Install the MFP Network Printer on Windows
- Go to
Settings>Bluetooth & devices>Printers & scanners. - Click
Add device. Windows will search for printers on your network. - If your printer appears, select it and follow the on-screen instructions.
- If it’s not found, click
Add manually. ChooseAdd a printer using a TCP/IP address or hostname. - Enter the printer’s IP address (found in Step 3). Windows will attempt to find the driver.
- If prompted, select the manufacturer and model. If your model isn’t listed, use the
Have Disk...option to locate the driver files you downloaded. - When configuring the port, the MFNP Port is often a better choice than the
Standard TCP/IP Portas it can automatically track IP address changes on the same network segment. - Complete the setup wizard and print a test page to confirm everything is working.
How to Install the MFP Network Printer on Mac
macOS makes adding network printers simple, especially with AirPrint.
- Go to
System Settings>Printers & Scanners. - Click the
+button to add a printer. - If your printer supports AirPrint, it should appear in the
Defaulttab. Select it and clickAdd. macOS will handle the rest. - To add by IP address, click the
IPtab (globe icon). - Enter the printer’s IP address. For
Protocol,Line Printer Daemon - LPDis a reliable choice. TheQueuefield can often be left blank. - In the
Usedropdown, chooseSelect Softwareand find your specific printer model from the list to ensure you’re using the correct driver. - Click
Addand print a test page to verify the connection.
Frequently Asked Questions about MFP Network Printer Setup
Here are answers to common questions that may arise during the setup of your MFP network printer.
How do I find my printer's IP address?
An IP address is your printer's unique address on the network, essential for manual setup and troubleshooting. Here are three ways to find it:
On the Printer's Control Panel: Steer to the Menu, Network Settings, or TCP/IP section. The IP address should be displayed there.
Print a Configuration Report: Most MFPs can print a network status or configuration page from the settings menu. This report will list the current IP address and other network details.
Check Your Router's Admin Page: Log in to your router's web interface and look for a Connected Devices or DHCP Clients list. Your printer should be listed there with its assigned IP address.
What should I do if my computer can't find the printer on the network?
If your computer can't detect the printer, follow these troubleshooting steps:
Check Physical Connections: For Ethernet, ensure the cable is securely plugged into both the printer and the router. For Wi-Fi, confirm the printer is connected to the correct network with a strong signal.
Verify Same Network: Ensure both your computer and the MFP network printer are connected to the same network (e.g., not one on a guest network and one on the main network).
Restart Everything: Power cycle your router, printer, and computer in that order. Wait for the router to fully restart before turning on the printer and computer. This often resolves temporary glitches.
Check Firewall/Antivirus: Security software can sometimes block network communication. Temporarily disable your firewall to see if the printer is detected. If so, add an exception for your printer in the firewall settings.
Verify IP Address: If adding the printer manually, double-check that you have entered the correct IP address.
Update Drivers: Make sure you have the latest, correct drivers installed for your printer model and operating system.
Can I use an MFP without a network connection?
Yes. While networking open ups collaborative features, an MFP network printer is still highly functional as a standalone device.
Direct USB Connection: You can connect the printer directly to a single computer using a USB cable for local printing and scanning.
Wi-Fi Direct: This feature creates a direct wireless link between the printer and a mobile device or computer, bypassing the need for a router.
Standalone Functions: Most core features work without any connection:
Copying: Use the control panel to make copies directly.
Scanning to USB: Save scanned documents directly to a USB flash drive.
Faxing: Send and receive faxes using a connected phone line.
Conclusion
Setting up an MFP network printer is a manageable process that open ups significant benefits for your business. By following the steps from unboxing and physical assembly to network connection and driver installation, you have integrated a powerful tool into your office workflow.
A properly configured MFP network printer boosts increased productivity and streamlines document management through shared access, advanced features like duplex printing, and the flexibility of mobile and cloud integration. This digital upgrade is a key step in Streamlining Business Processes for Efficiency.
At Smart Technologies of Florida, our people-centric approach, backed by 23 years of experience, ensures that technology solutions align with your unique business goals. We specialize in helping businesses grow through strategic change and innovation.
If you need help with advanced device integration, managed print services, or selecting the right MFP network printer, we’re here to help. Explore our Printers and Copiers solutions to learn how we can empower your business.


